01
Choose text or a recording
Use Text to Verity for a line you write, or Voice to Verity for a short recording you upload or record in the studio.
Verity Voice Guides
Start with written text or a short recording, create a Verity-style voice line, then preview and save the result.
Reviewed by Verity Voice Product Team
Create a voice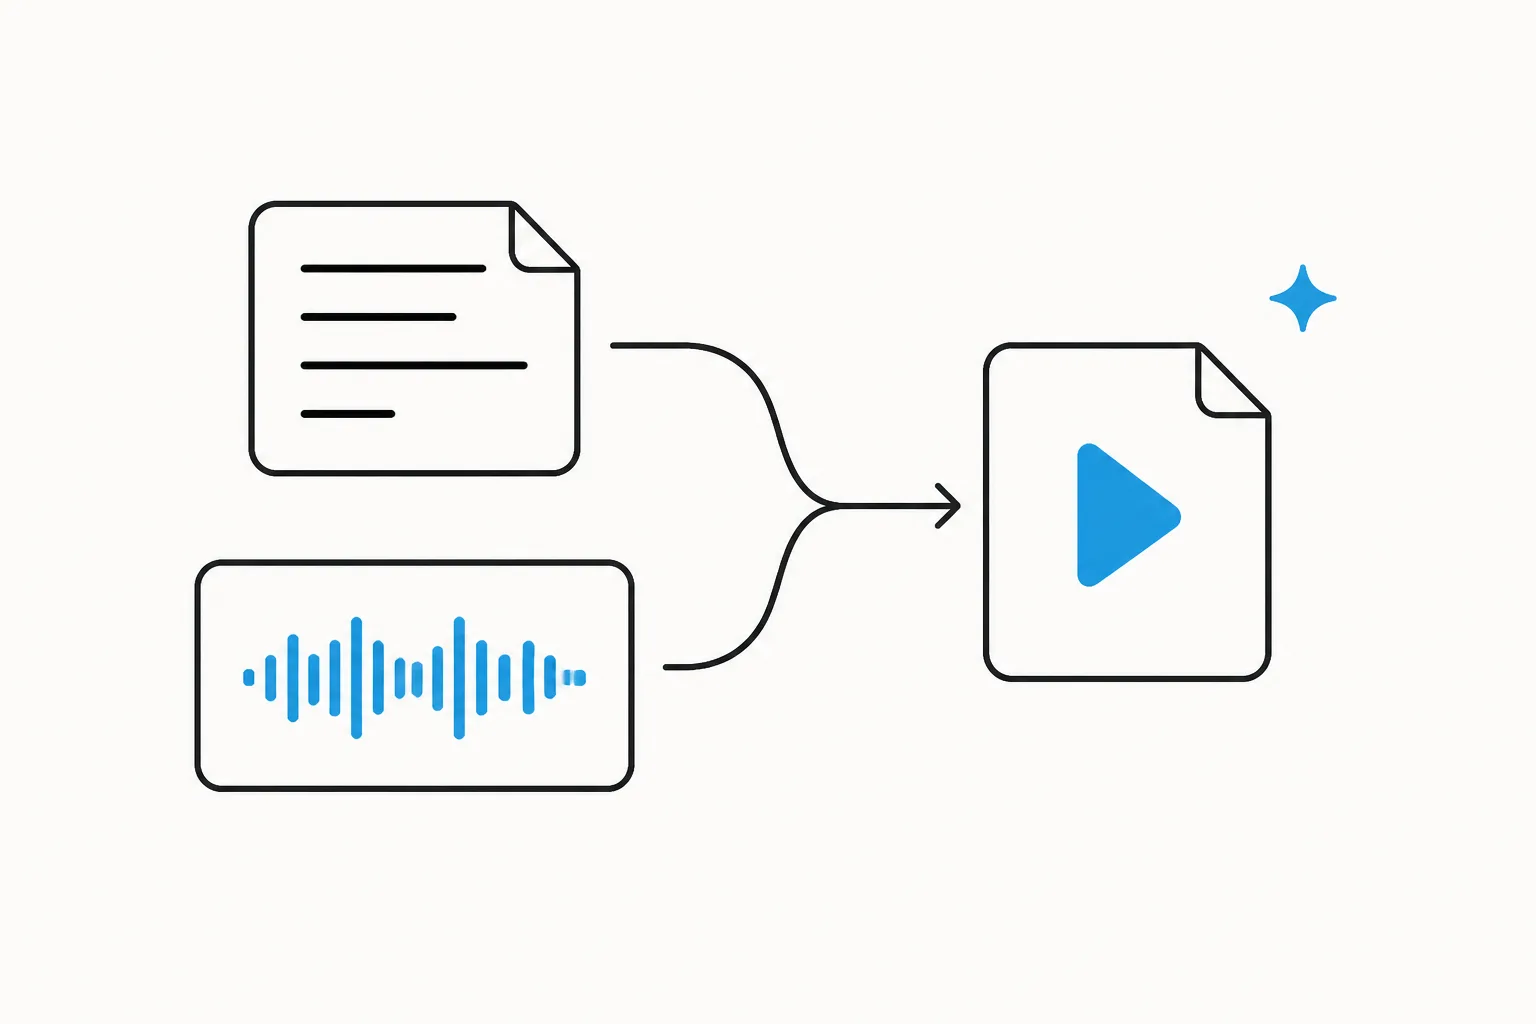
Simple workflow
Use Text to Verity for a line you write, or Voice to Verity for a short recording you upload or record in the studio.
Guests can use up to 200 billing characters or a 15-second recording. Signing in supports longer inputs.
Create the audio, listen to the result in the studio, then download it when it is ready for your recorded project.
Start with the result you need
A Verity voice line is most useful when you need an audio file for a recorded gameplay moment, story edit, trailer, or scripted scene. The workflow begins with words: either words you write yourself or words you have already performed in a short recording. The studio then creates a new Verity-style audio result that you can preview in the browser and download for an edit.
Decide what you are trying to preserve before you open the studio. Choose a recording when the timing and wording of a performance are already right. Choose text when you are starting with a line on the page and want a new recorded voice file. That small decision keeps a voice-generation task focused: you are preparing an asset for a project, rather than setting up a live effect for a microphone.
Keep the first attempt narrow. A short, complete sentence gives you a clear result to review, while a long script makes it harder to tell whether the wording, pacing, or source quality needs attention. Once the first line works in context, you can repeat the same process for the next cue in your recorded scene.
Text to Verity is the straightforward path when you need to create a line from scratch. Write the exact words you want in the finished audio, including natural pauses only when they are important to the scene. It is a good fit for a short intro, a story cue, or dialogue you have not recorded yet. Read the sentence aloud before generating it; clear, complete wording is easier to check and revise than a placeholder fragment.
Voice to Verity is the better choice when you already have a short recording with the words and timing you want to keep. Upload a clip or record in the studio, then use it as the source for the generated audio. A single speaker and a quiet background make the source easier to understand. If the words contain a name, a dramatic pause, or a reaction that matters to the edit, perform that detail in the source rather than hoping to reconstruct it later.
This choice is not a quality ranking between two modes. It is a production decision about where the words come from. Text starts with a written line. A recording starts with your performed words. In both cases, the result is an audio file for a recorded project, so choose the path that leaves you with the least cleanup before you place the clip on a video or audio timeline.
| Start with | Use it when | What you review next |
|---|---|---|
| Written text | You need a new line, cue, or short piece of dialogue. | Check the wording and whether the generated line fits the scene. |
| A short recording | You already know the words and timing you want to preserve. | Check that the source was clear and the result keeps the intended cue. |
| Neither | You need a live microphone effect, voice chat setup, or game integration. | Choose a product built for that separate, real-time workflow. |
Start with one idea per line. Instead of drafting a paragraph, write a short sentence that makes sense on its own: an opening warning, a reaction, or a transition in a story. That makes the preview useful because you can judge it in the same place where viewers will hear it. If a line depends on the sentence before it, include only the necessary context rather than adding unrelated dialogue to the same request.
For a recording, use words you have the right to submit and choose a clip with one speaker where possible. Avoid treating a noisy source as a finished performance. Background sound, overlapping voices, and clipped speech make it harder to evaluate the generated result. If a take is hard to understand before upload, record the short line again instead of adding more processing steps around it.
Generating requires a signed-in account, and each run uses credits. That is a practical reason to plan each cue before generating it. Splitting a recorded scene into short, meaningful lines also makes it easier to replace one result without disturbing the rest of the edit.
When the source is ready, create the audio and wait for the result in the studio. Preview it before you download anything. Listen once for the words, once for the pacing, and once with the surrounding scene in mind. A line can sound clear by itself but arrive too early or too late after a cut, so the decision to keep it should be tied to the recorded project rather than the preview alone.
If the result does not fit, identify the specific input to change. For text, revise the words into a shorter or clearer sentence. For a recording, use a cleaner take with the intended timing. Change one part of the source at a time so the next preview answers a useful question. This is more reliable than making several unrelated edits and guessing which one changed the audio.
Download the completed file when it is ready for the edit, then keep a meaningful name in your project folder. For example, a name that includes the scene and cue makes it easier to find later than a list of untitled audio files. The studio creates the voice asset; your editing software or timeline remains the place where you position it with video, music, captions, and other sound.
The finished audio is intended for recorded work. You can place a short line into a gameplay edit, a roleplay scene, a video intro, or another scripted moment where you control the final timeline. Preview the file alongside the scene before publishing so that the line has a clear purpose and does not compete with dialogue or important sound.
This product boundary matters when you compare tools. Verity Voice does not install a virtual microphone, run as a live voice changer, connect to Discord, or provide a Minecraft mod. If your goal is live chat or in-game processing, this guide cannot turn the recorded-audio workflow into that product category. Choosing the right workflow at the start avoids spending time on a result that cannot serve the situation you actually have.
For credits, membership options, and one-time packs, use the current pricing page. For handling of account details, voice inputs, and generated audio, read the current privacy policy. Those pages are the source for current product and policy details, while this guide explains how to plan and review a single voice line.
Yes. Use Text to Verity when you have a written line and need a new recorded audio file. Start with a short, complete sentence so you can review the result in the context of your project.
Yes. Use Voice to Verity to upload or record a short source clip when you already know the words and timing you want to keep. Submit only audio you have the right to use.
Yes. Sign in to generate from text or a recording. Text can be up to 5,000 characters and recordings up to 60 seconds, so plan a short cue first if you are evaluating the workflow.
No. Verity Voice creates a finished audio file for a recorded project. It does not provide a live microphone voice changer, Discord integration, or a Minecraft mod.